Ljubljana related

April 3, 2019
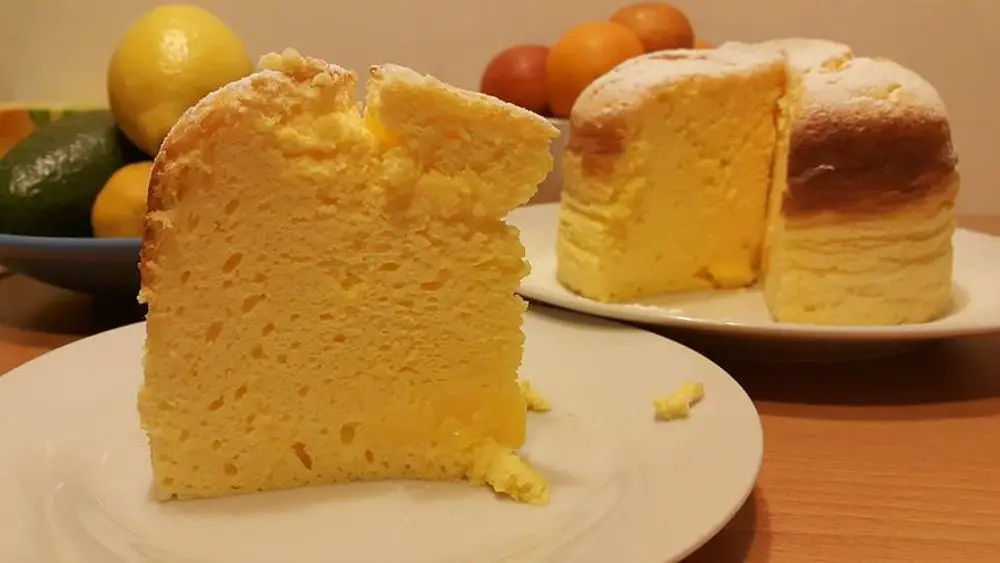
This week’s recipe presents a cake which simply cannot disappoint. While we advise you to pay attention to some details, especially the baking part, the reward comes in the mousse-like cheese flavoured texture which combines nicely with the various berry fruits that are currently entering our local markets.
The cake recipe is loosely based on so-called Japanese cheesecake, also known as cotton cake, although our recipe calls for using a bit more cream cheese. Consequently, our version of the cake has less elasticity and will almost certainly crack at the top, which is nothing to worry about unless you want to create a Hello Kitty out of powdered sugar on it.
As already suggested, the cake itself is just as delicious if eaten without any filling, which is great if you’re worried you might not have enough time to follow the whole recipe presented here.
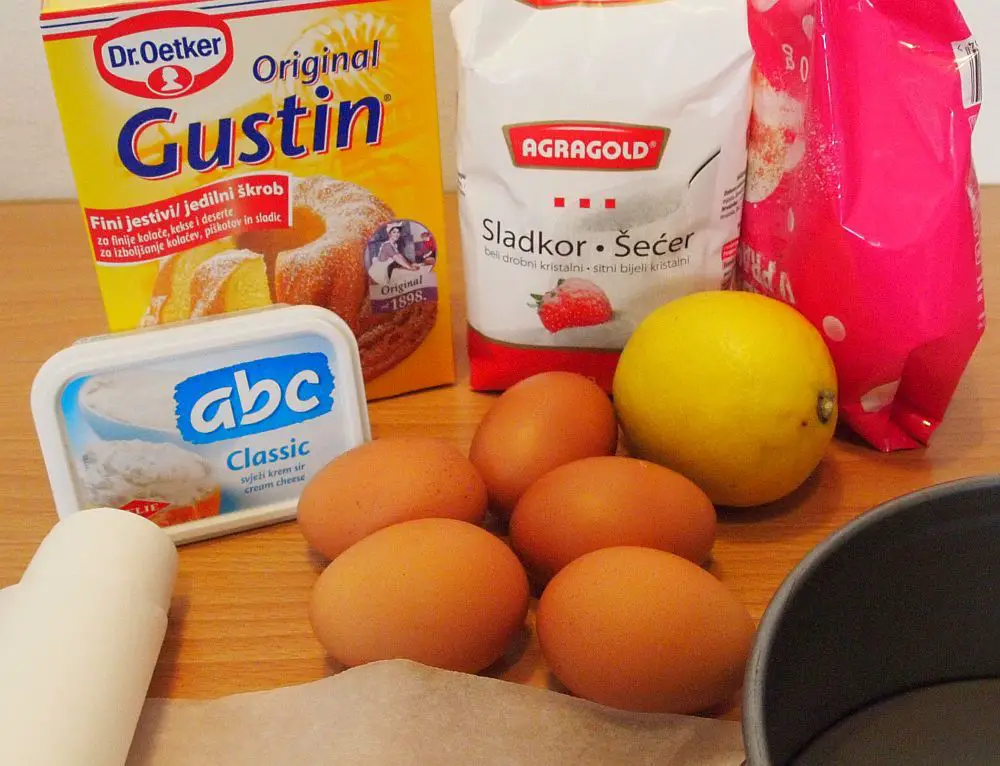
Ingredients (cotton cheesecake; for a 17cm cake pan, about 6-7 cm high)
The amount of ingredients listed above is quite small even for the small cake pan we’ve got. If your cake pan is significantly bigger we suggest you double the ingredients. If we were baking this cotton cheesecake without planning to put any cream inside and over it, then we’d probably increase the amount of ingredients by 1/3.
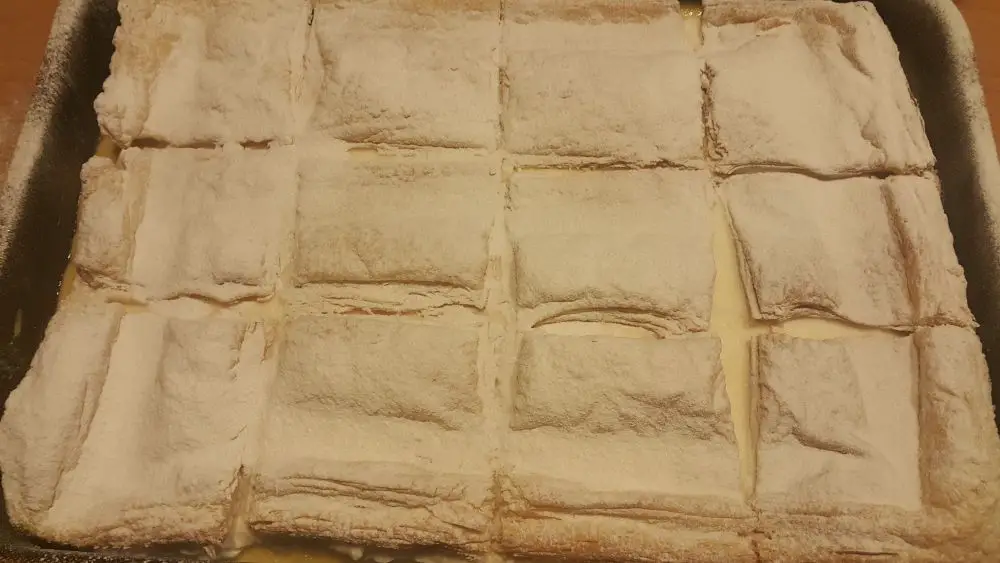
The first thing before you do anything else is to turn the oven to 175 degrees Celsius. Set the rack at its lowest point so that the paper sticking out of the cake pan will not touch the ceiling of the oven. Also get the big pan and the hot water ready, or even better, place in into the oven so that when your cake is to be baked you will just place it into the hot water that’s already inside. To get the idea, here’s a picture of our cake just before we took it out of the oven.
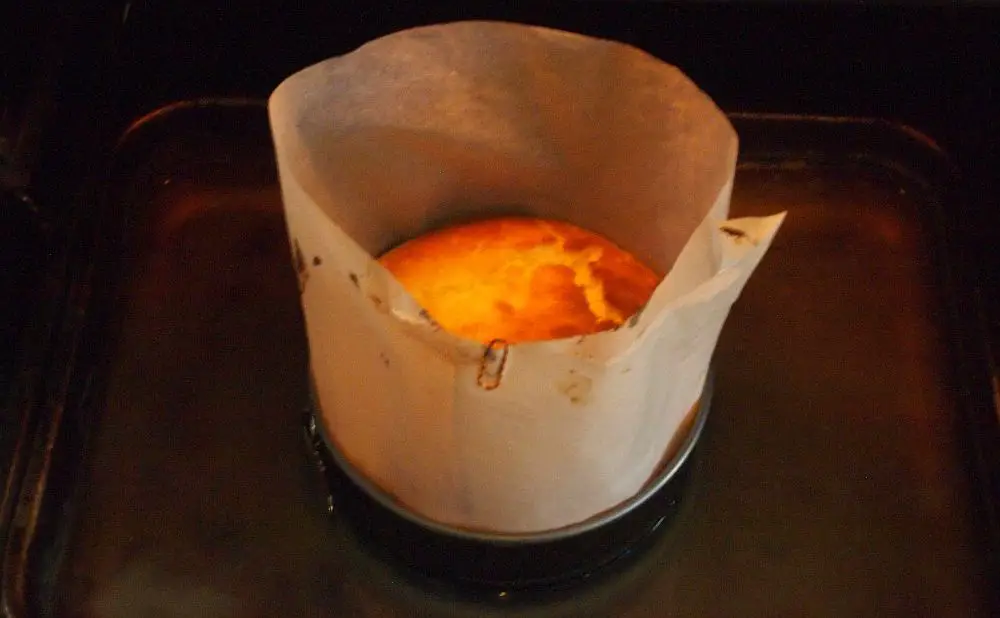
It is very important that the oven is fully heated and the temperature doesn’t drop much once you open the door and place you cake inside. The fluffiness of this cake is due to the egg not based on flour and baking powder, and thus it is sensitive to inconsistencies in temperature (a little like a soufflé).
The second important thing is that we’d like to keep our cake moist, not dry, which is why we’ll place it in the water - so that the bottom bakes slowly and doesn’t burn - and leave the sides of baking paper high - so that it doesn’t burn and dry out at the top. Baking paper will also prevent the cake from sticking to the bottom and the sides, and will also help it retain the shape while it cools down.
Before we start mixing the ingredients, draw around the bottom of the cake pan on the baking paper, cut it out and place it on the bottom of the pan. Press it into the corners to form a 0.5-1 cm high edge at the side.
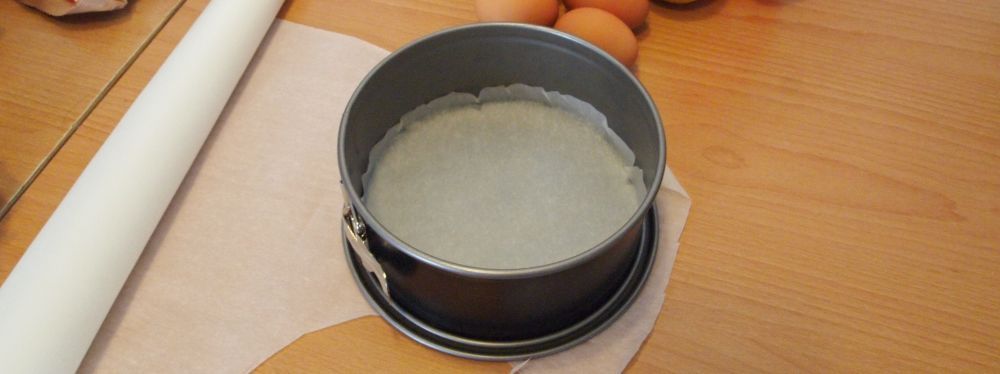
Then cut a long enough wide strip and place it outside-straight-side down into the pan and fix together at the top with a paper clip. Make sure it is wide enough so once you pour the cake mix in it will fit the width of the tray.

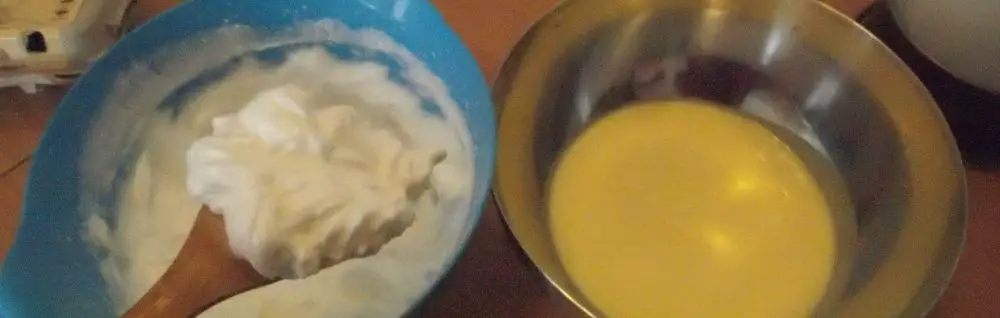
Then move to the cake mix: separate egg whites from egg yolks. Make sure no yolk escapes into the egg whites as then you won’t be able to beat them firmly. First beat the egg whites and when they start forming peaks, but are not completely hard yet, start adding castor sugar. The egg whites are beaten when they stay inside if the bowl is turned upside down.

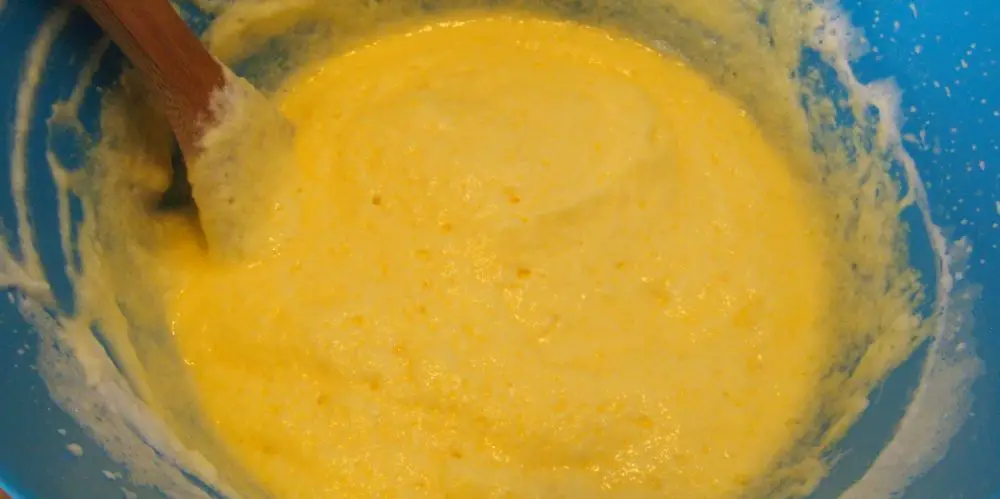
Beat the egg yolks and one by one mix in the sugar, lemon jest with juice, corn starch (stir in before mixing, or it’ll be blown all over your kitchen) and cream cheese. Put your mixer aside and take a big spoon, preferably a wooden one. Slowly stir in 1/3 of the egg whites and when they are more or less evenly spread throughout the mixture add the rest. Adding the egg whites in two rounds will allow your mixture to retain the maximum amount of air, which is what will make your cake fluffy.
Pour the mixture into the baking pan, open the door of the preheated oven and place it into the pan of hot water. Close the door and do not open it until the cake is done. Bake for the first 20 minutes at 175 degrees Celsius, then another 15-20 minutes at 150 degrees. After 35-40 minutes turn the oven off, and let the cake rest inside for another 10 minutes. Then take it out of the water and let it rest outside until cool enough that you can release it from the cake pan. Leave it wrapped in paper till more or less cool.
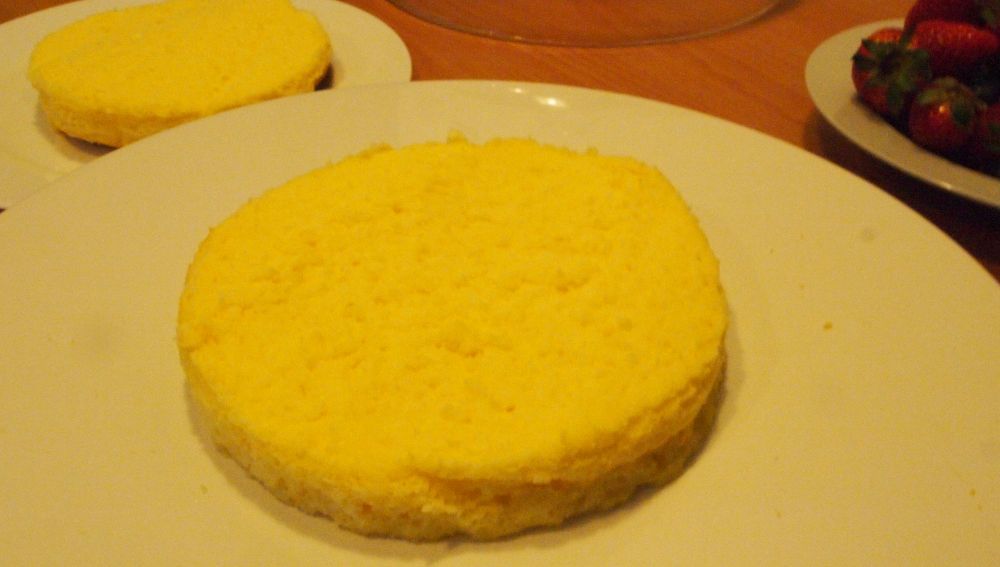
Once cooled, turn it around carefully and remove the bottom paper first, then place it on your final cake plate, and remove the surrounding side paper as well. Cut it in the middle and put the upper part to one side.
Here you can get into a bit of a trouble if the cracked top starts falling into pieces. If it doesn’t now, it might when you’ll be placing it back to the top of the cake. Don’t panic, the cream will keep it together, just make sure you don’t break it too much.
Now the filling.
Ingredients
Although we could just use all of the ingredients to make one kind of covering, we did not for the following reason: fruits such as pineapple, mango, papaya and kiwi contain a gelatine-melting enzyme. We were not planning to put any of those inside the cake, but wanted them at least for the decoration. Which is why the cake had to be covered with another layer of fresh cream.
So we beat the fresh cream first, add half the sugar then beat some more until done. Separately mix lemon juice and zest into the fresh cream and add gelatine. Stir for about a minute, then add the rest of the sugar, take a spoon and gently stir in half of the beaten fresh cream.
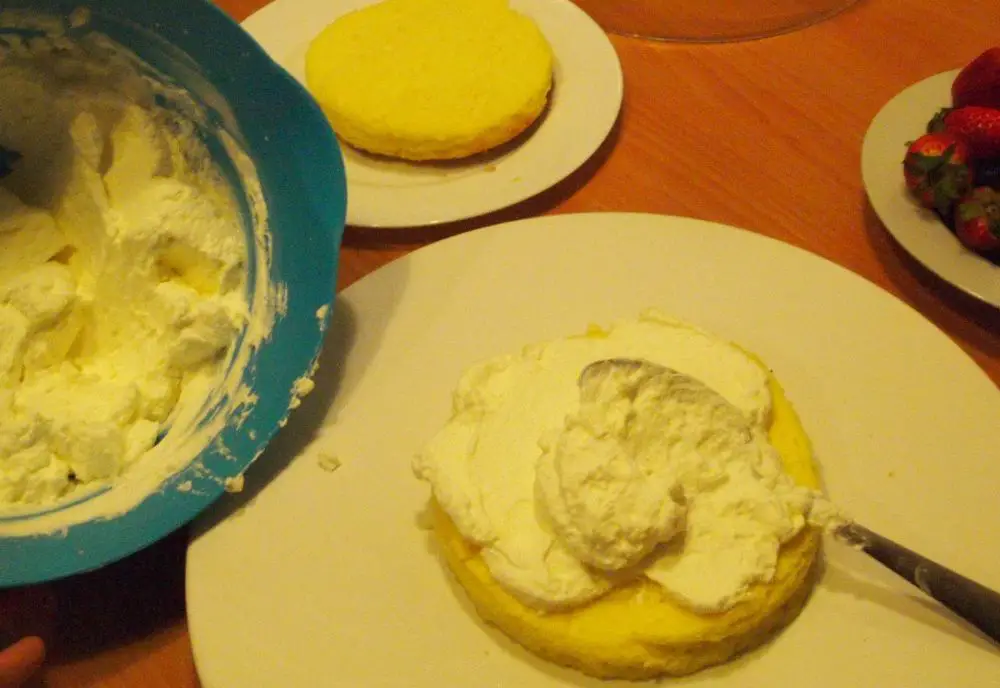
Spread some of the cream over the bottom layer of the cake, cover it with a layer of fruit – press it in a little and put another layer of cream at the top. Put the second layer of the cake on the top of that and cover the top and sides of the cake with the remaining cream. Then spread the remaining fresh cream on the top of that, decorate with fruit and place into the fridge for 2-3 hours.

Dober tek!
March 24, 2019
In our previous recipe for matevž, we wrote that it is usually served with boiled sauerkraut or sour turnip and pečenica sausage.
A reader asked us how sauerkraut or sour turnip is prepared as a side dish, and this article is a short answer to that question.
Ingredients:
Chop the onion and stir fry in oil till it softens. Add sour turnip or sauerkraut, bay leaves and water. Boil for about 30 minutes, take a portion out of the water and serve on a plate while still warm. In case you want your sauerkraut to be less sour, rinse before cooking.
Dober tek!
March 18, 2019
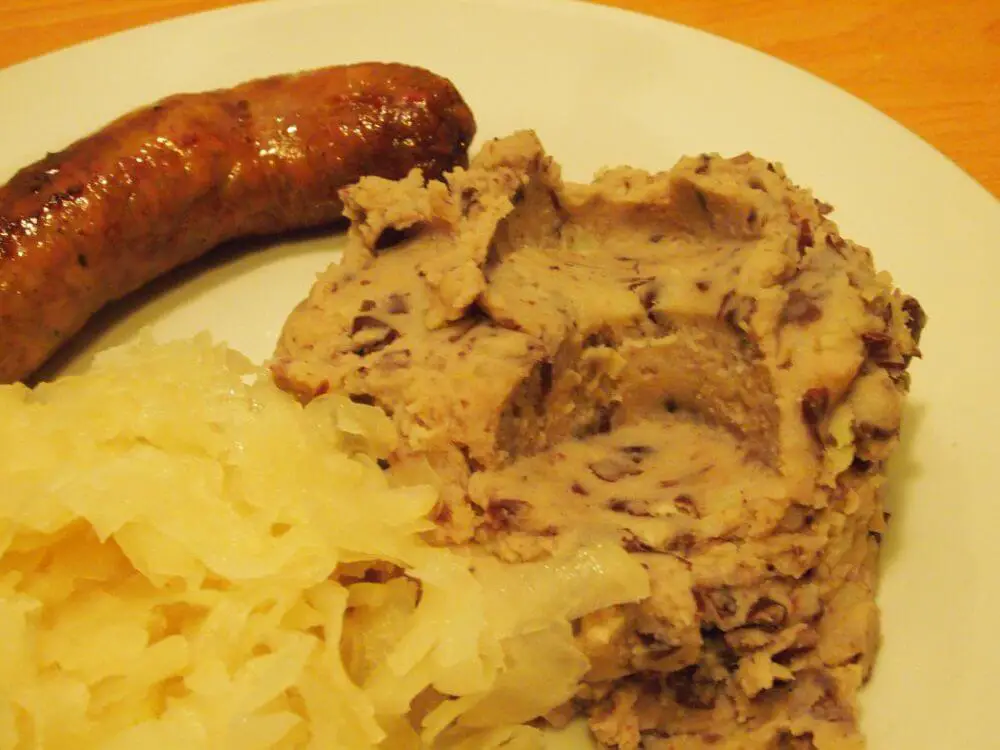
Matevž is a very common winter dish that resembles mashed potatoes with some beans added. As no milk or butter is used, Matevž is also appropriate for vegans, and is usually served with cooked sauerkraut or sour turnip. If a dedicated carnivore, add pečenica to complete the dish.
Matevž and turnip present a simple Slovenian winter meal, which is healthy, tasty and easy to prepare.
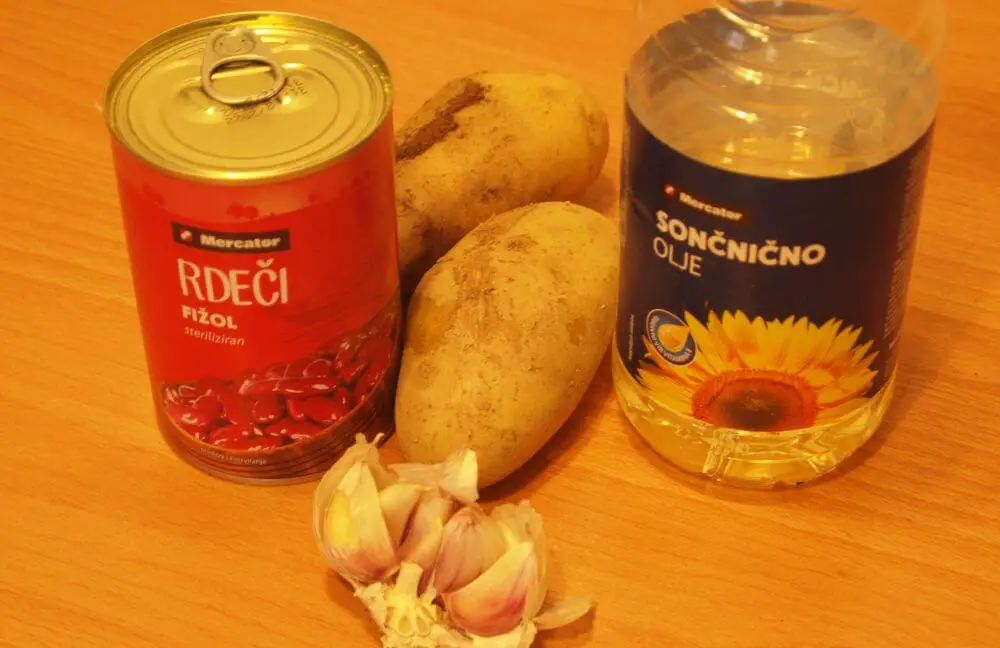
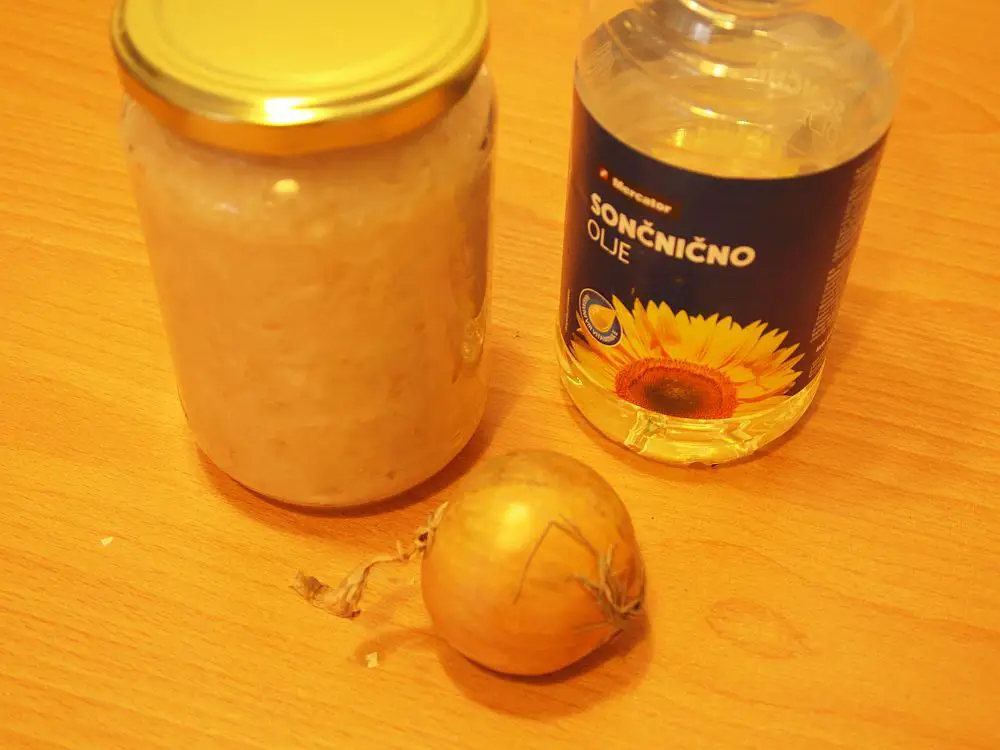
Ingredients (for two hungry vegans who also plan to eat a lot of sour turnip):
Peel the potatoes, cut and boil till soft. Chop the garlic and stir it on a heated oil till fragrant. Add the cooked and drained potatoes and beans. If using canned beans, you have to wash them first.
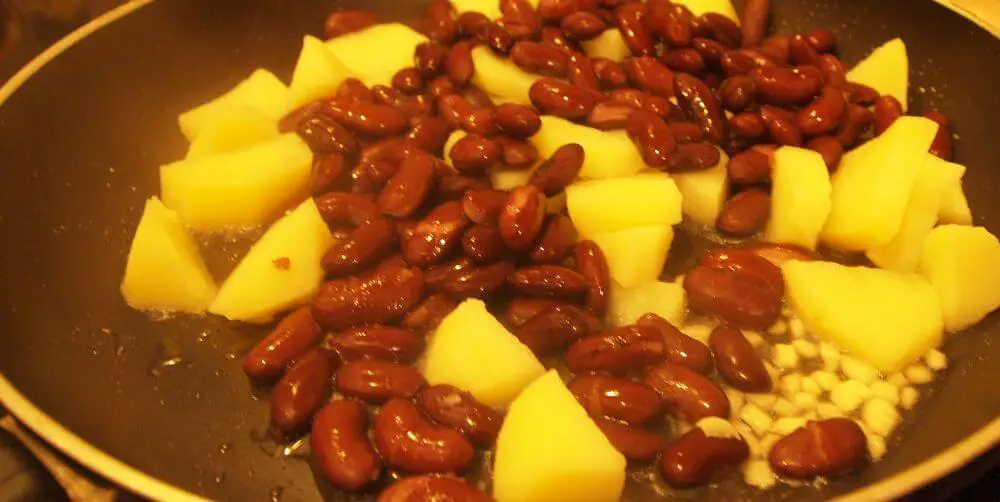
Then add some salt and mash all the ingredients together.
The result is called Matevž. As already mentioned, it needs to be served with cooked sauerkraut or sour turnip, and pečenica sausage is optional.
Dober tek!
February 26, 2019
Slovenian cuisine seems to consist of simple and boring or difficult and failure-prone dishes. There is very little in between, which is why we’re forced to stretch ourselves a bit over the limit of our capabilities from time to time.
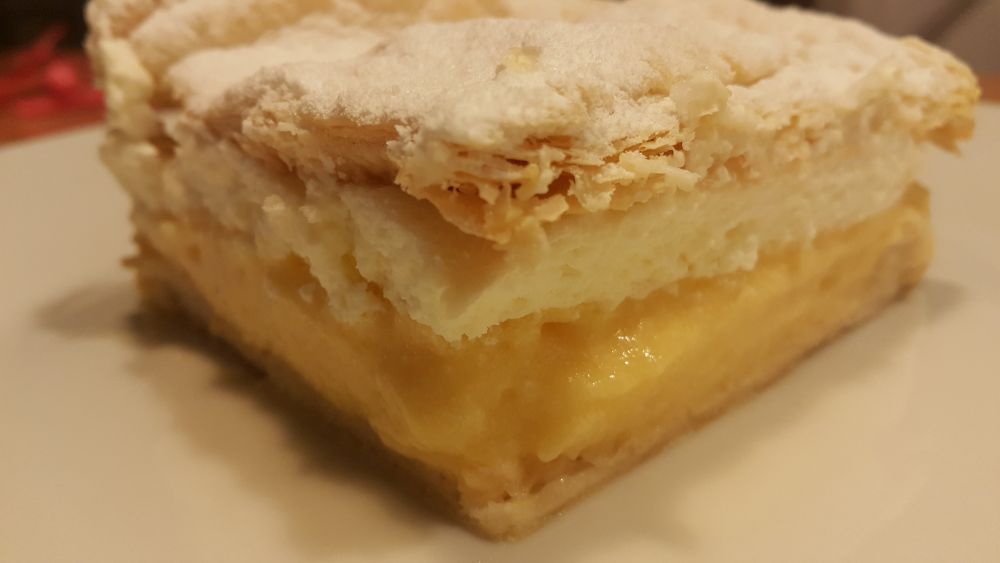
Kremšnita of Bled (blejska kremšnita) is delicious enough that people actually bake them at home, so there are quite a few online discussions on how to make them. We found one recipe that stood out for its professional approach, tried to follow it as much as our equipment allowed us – and still failed, to some extent. In this article we thus invite you to learn from our mistakes which might help you to make a more successful attempt at this dessert on your own.
This is the recipe we used, and a description of its execution in our humble kitchen follows. At 4:48 note one of the crucial elements of success: the technique of hot custard being whisked into the beaten egg whites. Perhaps one of the main reasons why the Serbian version of the dish has a no egg white, custard only recipe. The final results of the two however, if the first one succeeds, just cannot compare.
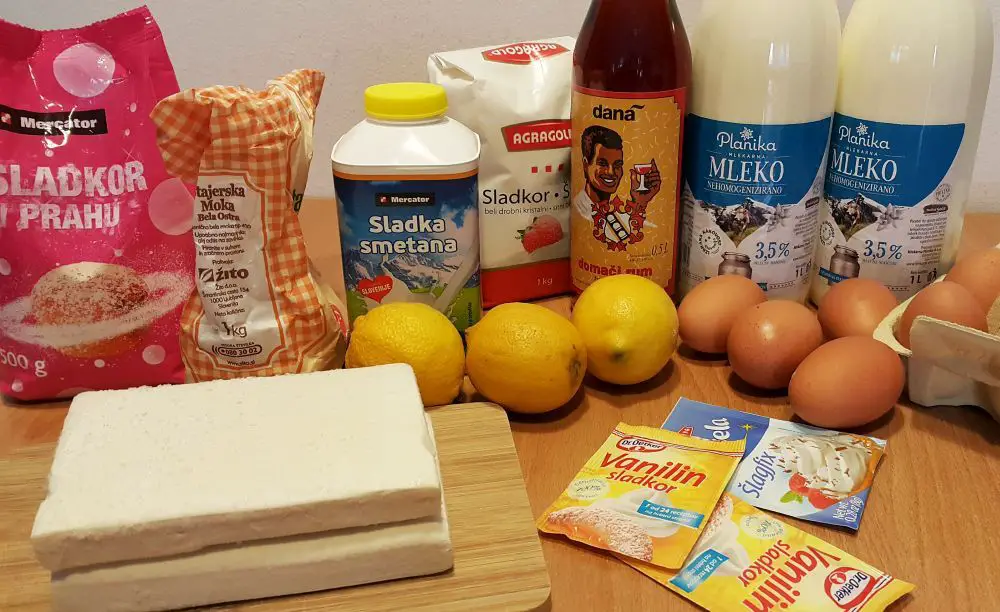
Ingredients (for 15 kremšnitas):
On the puff pastry
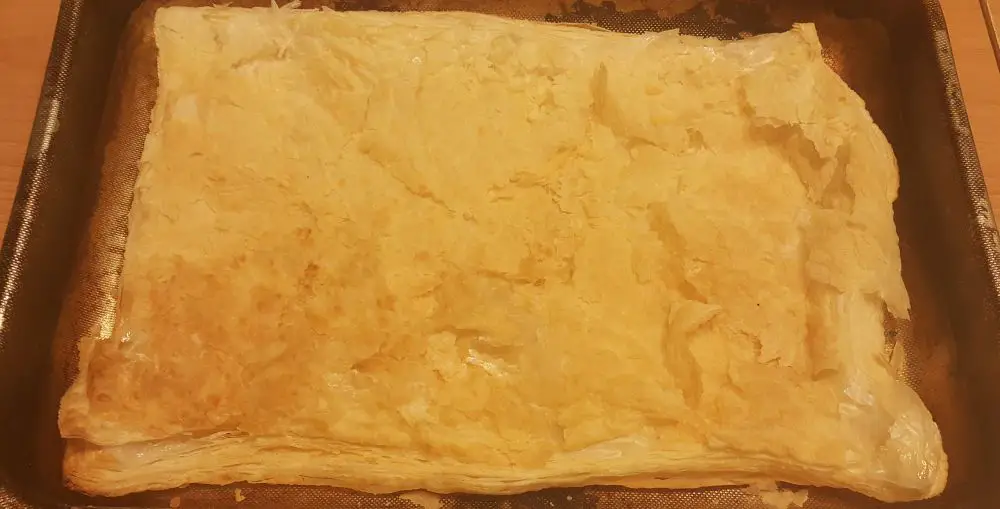
Puff pastry dough (listnato testo) can be found in the frozen foods department in almost every grocery store in Slovenia. It comes in 500g packages of two frozen blocks. We’ll use one for the bottom, one for the top of our pan of kremšnitas. Leave the dough out for a couple of hours then roll it, spike it with forks or a toothpick so that it doesn’t puff too much, then bake it at about 200 degrees Celsius for about 10 minutes or until yellow to light brown. It also tends to shrink in the oven, which is why you have to bake it in a larger tray from the one you’ll use for kremšnitas or simply flip over the baking tray and bake it on the bottom. If the baked dough is too large just trim the edges till it fits.
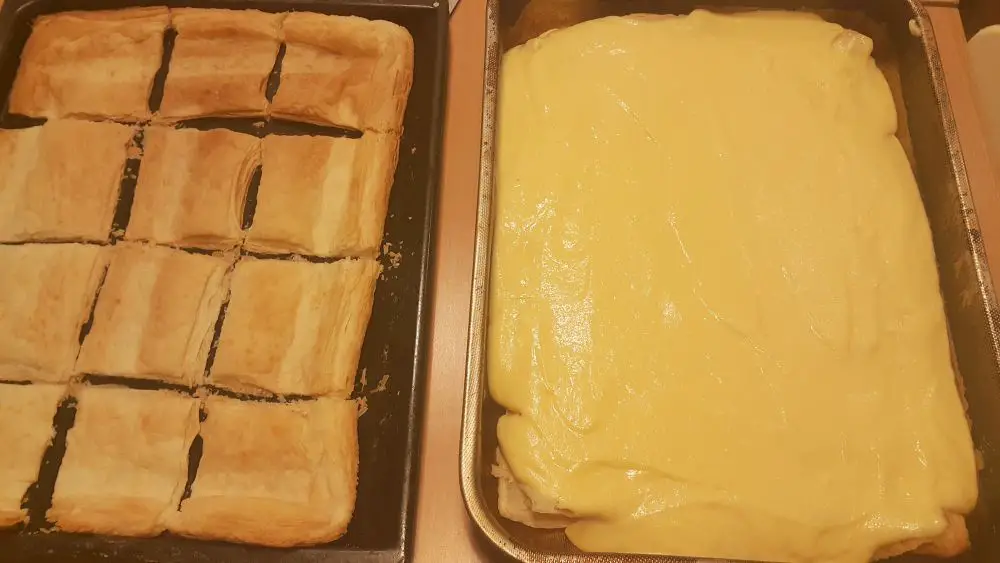
On the top of this should go custard, on the top of cooled custard a layer of cream, and on the top of that another layer of puff pastry.
Since there is a danger of smushing the whole thing when cutting our kremšnitas apart, it is better to just cut the dough on the surface before it’s baked or cut it in squares before you place it to the top of the cream.
Here is a video where we got an idea of how to cut the pastry before its baked.
It didn’t work that well, however.
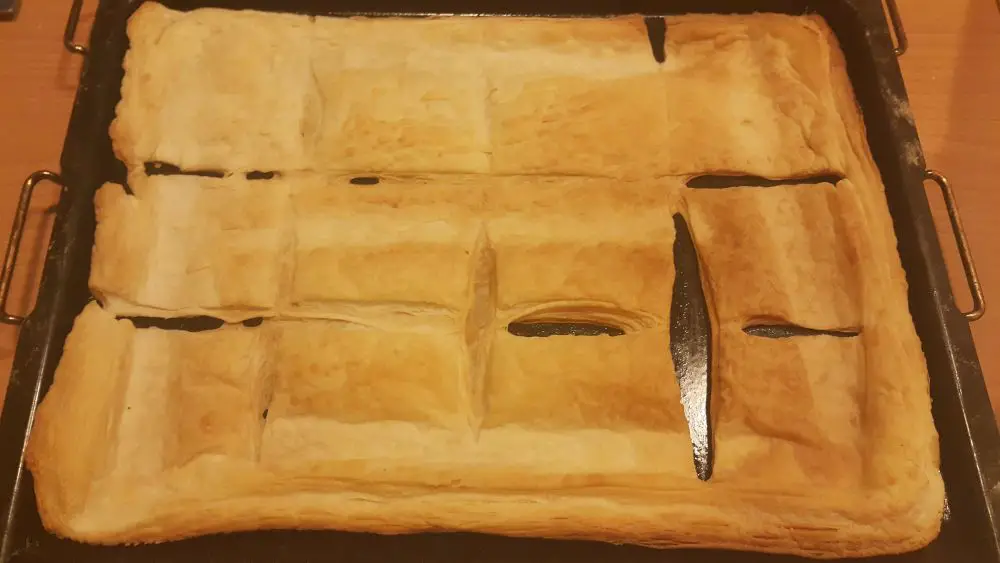
Also, we placed some kitchen knives on the top of the pastry so that it wouldn’t puff up too much. When we took it out one of the knives fell on the floor and the author of the current text picked it up, forgetting that it had just been heated to 200 degrees Celsius. We’re not sure if it was the burn or the ice that was used to cool it down, but for the rest of the day the touchscreen wouldn't react to our finger.
Next time we might just bake it first, then cut it, then place it to the top of the cream.
The tray
The smaller the tray, the taller the kremšnitas will be. An ideal custard-cream ratio is 2:1, which is – with the ingredients listed above – supposed to be achieved by the use of a 35x21x7 cm size tray (7x7x7 per kremšnita).
Our tray was 40x30, hence our kremšnitas were not very tall.
The custard cream
Put aside 2dl of full fat milk (the fatter the better) from the total of 1.6 litres, and put this 1.4l into a pan on the stove and slowly bring to the boil.
We separate egg yolks from egg whites and place the latter into a big bowl. We add the set aside milk (2dl) to the egg yolks together with sugar (300g castor), vanilla sugar, rum and flour. Stir with an electric mixer till the mixture is smooth.
Beat the egg whites to stiff peaks, gradually add sugar (100g castor) and beat some more till it is really stiff.
Slowly pour the egg yolk mixture into the boiling milk. The best way to prevent lumps from forming is to keep stirring it with an electric mixer. Boil for several minutes. You will notice the cream getting denser and denser. Keep mixing and make sure it doesn’t burn to the bottom.
Then take a big balloon whisk and ask for some help. Slowly stir the hot custard into the egg whites by turning and lifting rather than whipping them together. See the first video above. The whole thing should not last longer than a minute. When the mixture is more or less even, pour it on the top of the pastry and wait till it cools down.
Then beat the cream, add powdered sugar and beat some more. Place the cream on top of the custard and cover with already cut pieces of pastry. Sprinkle with powdered sugar.
Possible mistakes
There are at least two mistakes we made in the process of making the custard cream. Firstly, after pouring the egg yolk mixture into the boiling milk, it was very difficult to get the whole thing back to the boiling point. Concerned that the custard might burn at the bottom of the pan we might not have cooked it long enough. This is also the reason why some people prefer to work with smaller amounts. When looking for a smaller tray we might go for half the size as well, making 8 instead of 15 kremšnitas at the time.
The second problem was that we did not have a big whisk but only a small one from our mixer. As we just left it on while stirring the hot mixture in, we also accidentally pressed the button once, which couldn’t have helped either.
Either way, we haven’t given up yet, and hope to be more successful next time. Moreover, while not a picture perfect kremšnita, we promise that it tasted delicious.
Dober tek!
February 15, 2019
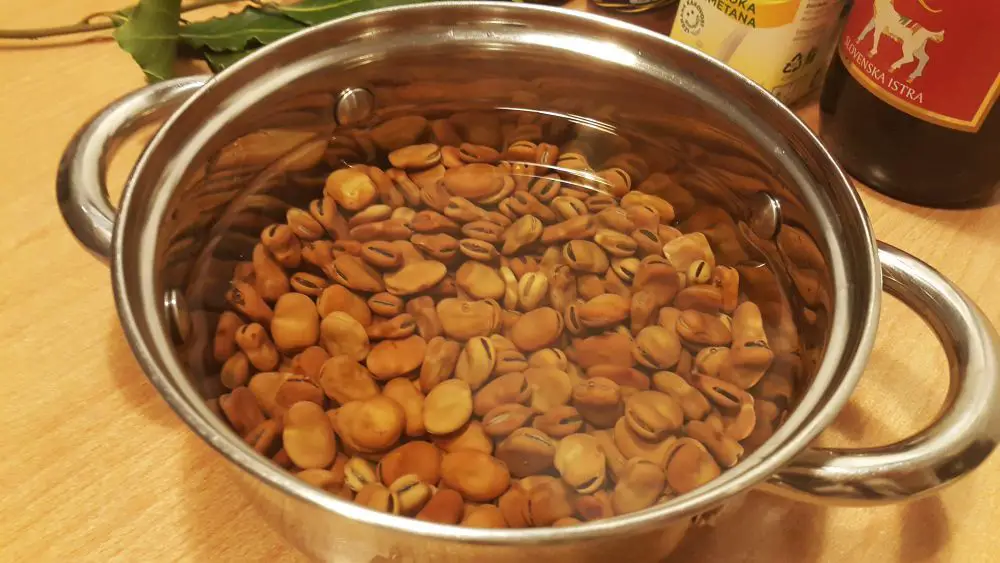
Broad beans originate from the Mediterranean and have been cultivated for thousands of years before they became almost forgotten in the last century or so. Until potato was introduced, they were one of the main staple foods in the Slovenian diet and were later often associated with the food of the poor, which is perhaps one of the reasons for their post-war decline in popularity. The second reason for their decline, as restaurant owner Roberto Gregorčič once speculated for Delo, might lie in a switch from polyculture to monoculture in farming, which renders these beans prone to aphid infections.
In recent years, with environmentalism and comeback of “the local”, many of the almost forgotten plants are being rediscovered, and so are broad beans, which we didn’t even need to go to search for to the central market place, but just got them, local and organic, in the nearest supermarket.
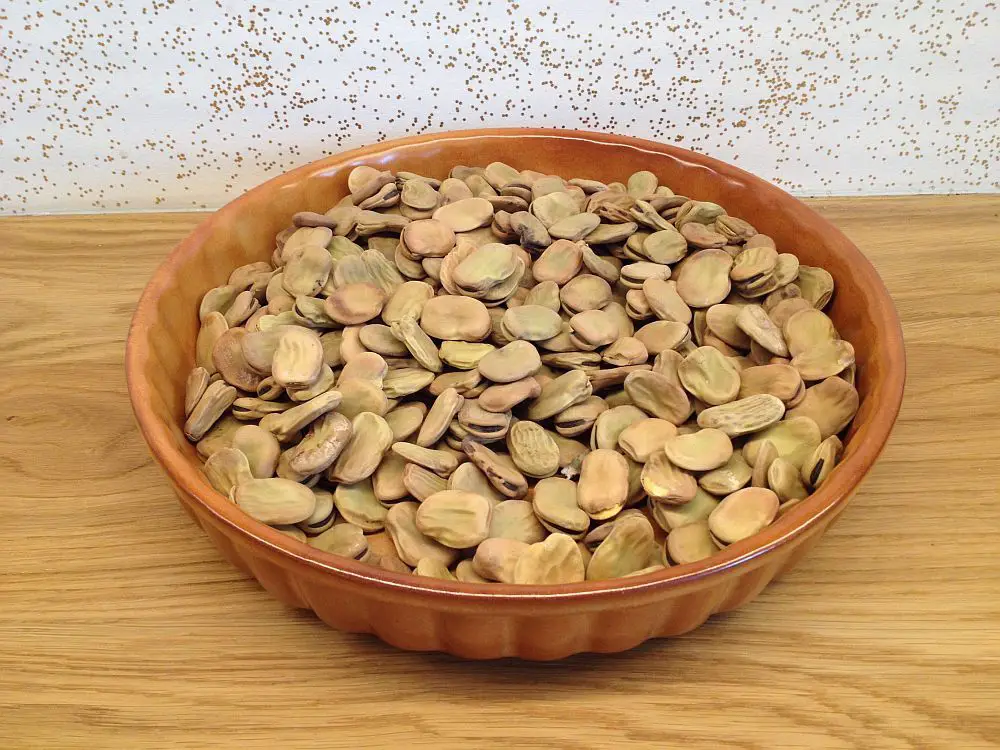
An important feature of the broad bean is that it's got quite a thick skin, much thicker than the ordinary bean, but it can be easily removed, especially while beans are still warm. They can be cooked and served in similar ways as ordinary beans, in a simple bean salad, or as an ingredient in more complex dishes, which is what we are aiming for today.
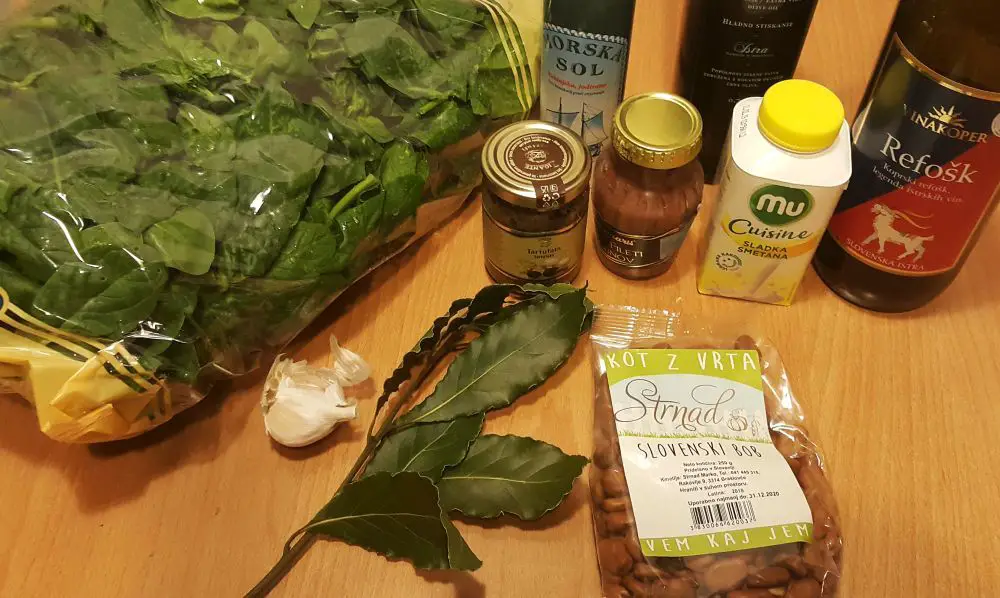
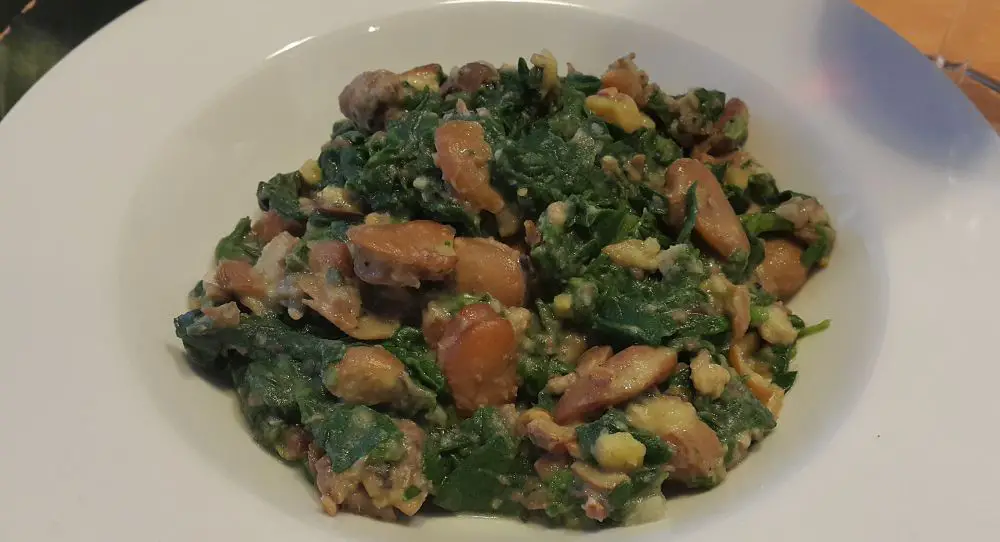
To get the logic behind this recipe, imagine a classic Eastern Adriatic side dish for fish: chard with potato. We’ll replace potato with broad beans and chard with spinach, as fresh chard is not available in this season. We also won’t be making fish but will enrich our side dish with some interesting flavours so that it will serve as a salad/main dish on its own: truffles, anchovies (leave these out if vegetarian) and red wine.
Ingredients:
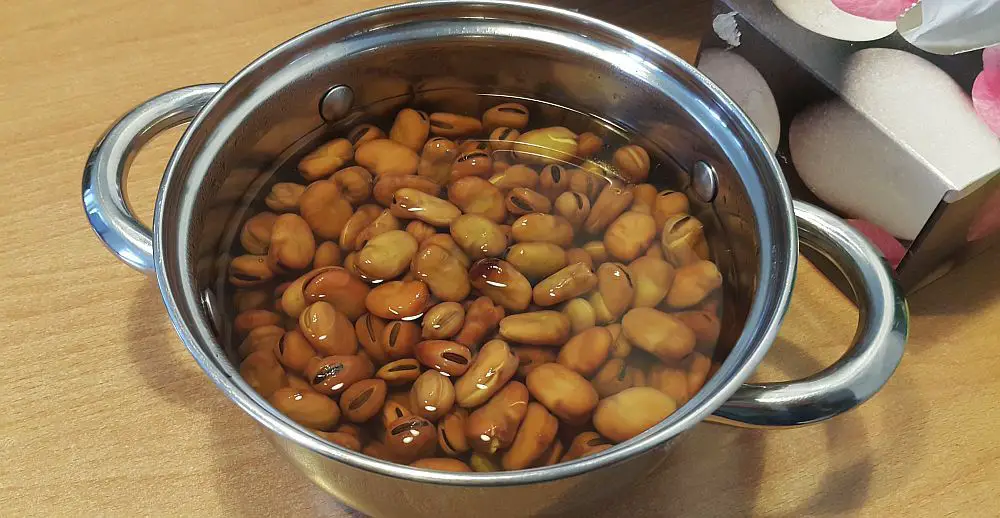
If dry, the broad beans need to be soaked first. Place them in a pot of water, cover and leave in the fridge overnight.
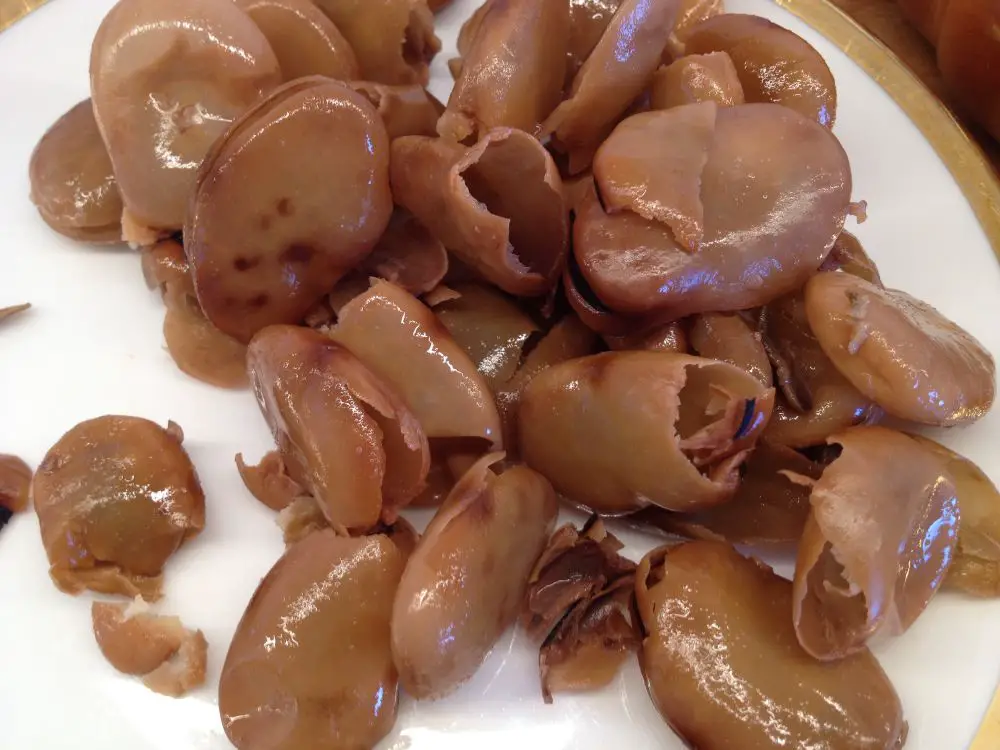
Then replace the water, add bay leaves and cook them for an hour, or until cooked. Then peel them by removing the black dot first. They should then jump out of a skin quite easily.
Chop the garlic and stir fry till it smells good. Add blanched chard (or spinach) and broad beans. Broad beans can be semi or fully pureed before being added to the spinach. We just mashed them a little. Add the rest of the ingredients and stir a bit longer until the alcohol from the wine is all gone.
Serve with a glass of red wine.
Dober tek!
February 3, 2019
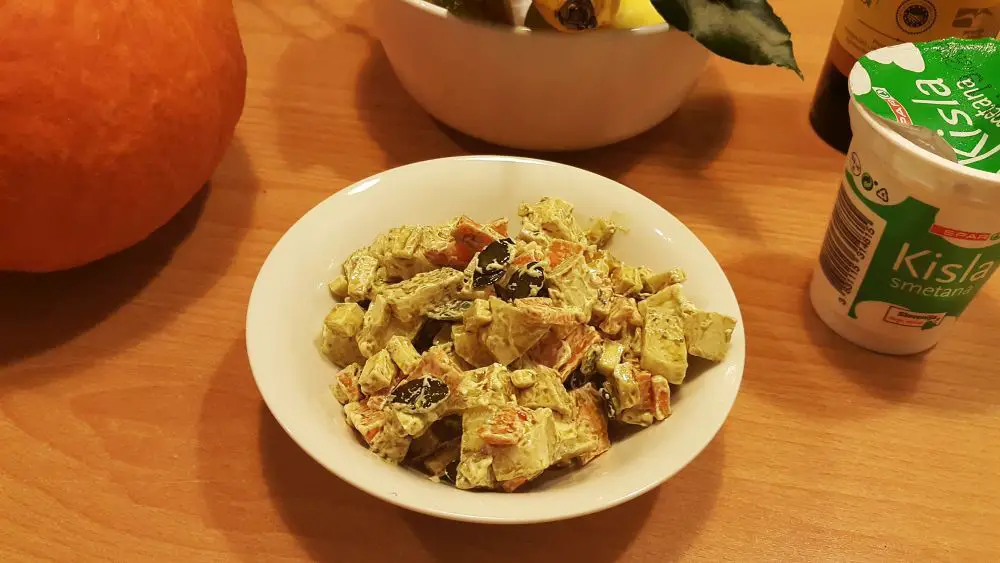
With December feasts behind us and Mardi Gras approaching in early March, January and February are reserved for a more cleansing diet of salads, soups and sauerkraut.
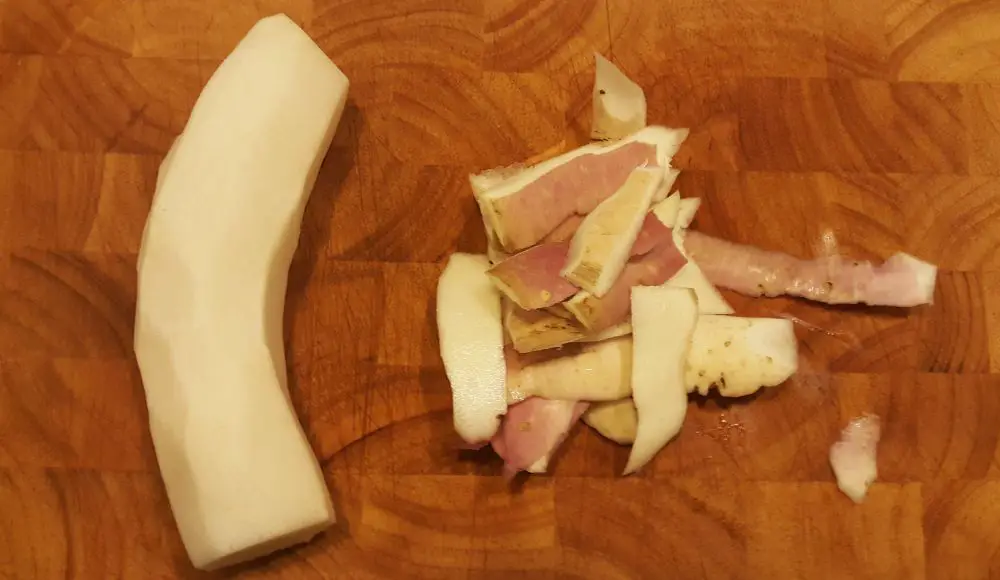
Although winter green salads are available in every supermarket, this didn’t used to be the case. There are however various vegetables, roots mostly, that remain fresh long into the wintertime. Although turnip and cabbage are usually preserved by fermentation, we were lucky to come across some fresh turnips that managed to keep their crunchy freshness into February.
Turnip is also the main ingredient of Slovenia’s best known dish that is rarely eaten, Alleluia. Alleluia basically consists of cooked dried turnip peels with or without some potatoes. The “recipe” does sometimes appear in traditional cookbooks as an Easter dish that is prepared only in memory of a 1529 famine.
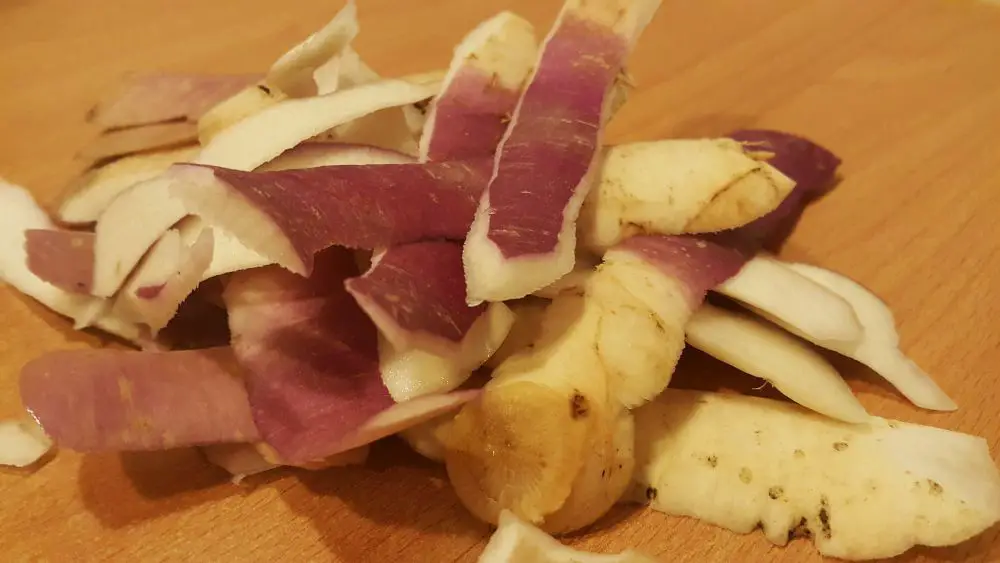
Winter root vegetables are either cooked into a vegetable soup or chopped up into a salad. It is worth mentioning, however, that once salad is made it needs to be eaten soon after, or else the chopped fresh turnip can turn very bitter if left overnight.

Ingredients:
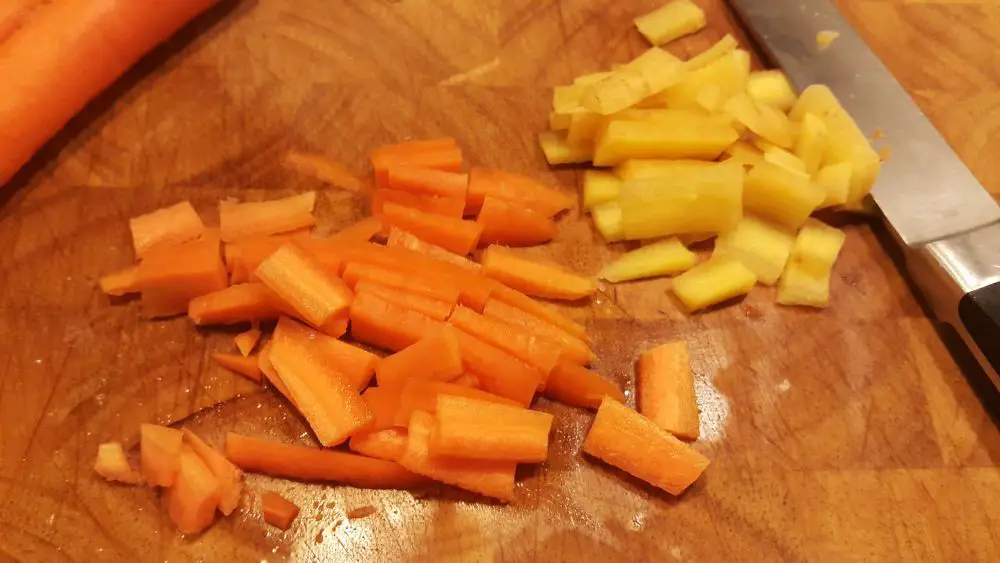
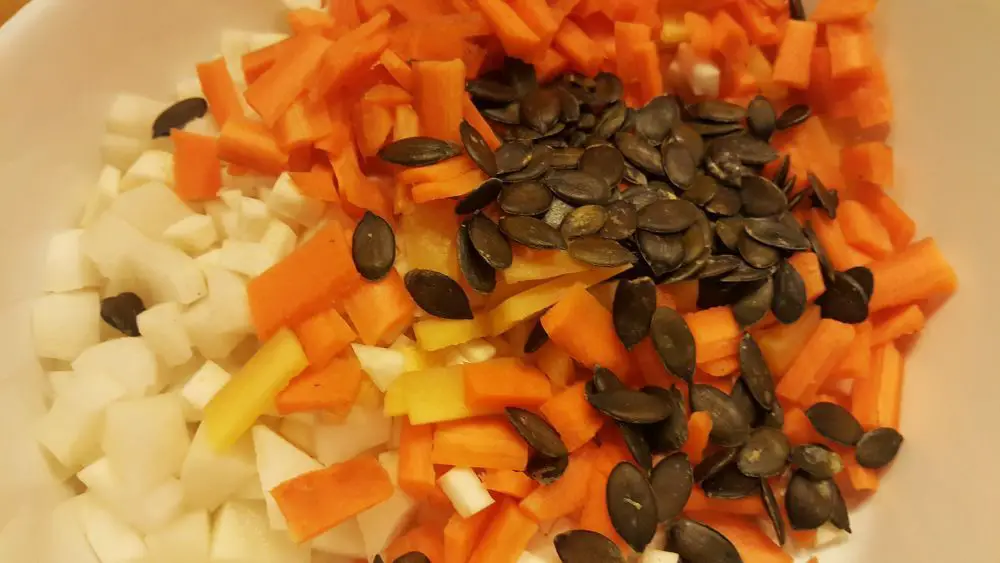
Wash, peel and dice the vegetables, add the rest of the ingredients and mix everything together.

Dober tek!
January 10, 2019
If you ever wondered about the source of the Slovenian expression “bolje vrabec v roki kot golob na strehi” (better a sparrow in the hand than a pigeon on the roof), here’s a hint in a 1982 cookbook on the tricks of “our grandmothers”:
“In bourgeois houses, housewives would prepare a feast with the following menu: frog soup, cooked snails, sparrow risotto, and roasted pigeons. Before the First World War, these specialties were on offer at the Zvezda restaurant in Ljubljana, where our grandfathers liked to go to enjoy these delicacies.”
(Pavle Hafner, Ta dobra stara kuha, Pečeni golobi, 1982, p. 132)
Although sparrow risotto recipe is mentioned it’s not included in this recipe book, and in fact we had difficulties finding any sparrow recipes elsewhere, Valvasor’s 1799 cookbook included. However, there are still quite a lot of recipes that use ingredients, particularly those from the animal kingdom, that are hardly common or even considered as edible today.
As suggested in the quote above, the big changes in traditional cooking did in fact occur no earlier than in the second half of the 20th century, when the so-called second wave of globalisation affected not only the ways of life in the Old World, but also the world in general. And its effects, due to cultural exchanges and the consequences of the environmental degradation following the process of industrialisation, sooner or later revealed themselves on every person’s dining table. Traditions were thus forced to reinvent themselves at a very rapid pace.

Kazina (1932), Congress Square in Ljubljana , the location of Zvezda restaurant where most of the dishes below were served long into the 20th century

Kazina today
In this article, we take a look at some of the meat dishes that used to be served at bourgeois dining tables long into the 20th century, but are either not as common now or completely gone from “traditional” Slovenian cuisine.
- Frog legs.
Although frog legs remain a delicacy that can still be found in a handful of restaurants across Slovenia, Pri Žabarju (At the Frog Hunter’s http://prizabarju.si/en/ ) being one of them, they are far from as common as they used to be. The Ljubljana marshes, for example, used to present an abundant source of frogs and their legs, which at least since the beginning of the 16th century could be found at the city fish market, located at today’s Fish Square in Ljubljana.
In the abovementioned book, we find several frog leg recipes, including one for a frog soup, which goes like this:
“In spring, when frog hunters began hunting frogs, our mother often cooked us frog soup. Us, the kids, appreciated fried frog legs more, but our father preferred the soup. There’s lots of work with frog soup, as its preparation is quite demanding.”
For the vegetable stock finely chop the listed vegetables and boil them in two litres of water for about with an hour, with the addition of some salt, ground pepper and nutmeg.
We stir fry the frog legs in fat and then add the vegetable stock to the pan. Then we add the chopped green parsley and cook for another 15 minutes.
The soup is served with toasted buns.
- Pigeon roast
Pigeons used to be farmed in the cities and countryside, and were prepared in various fashions, including roasts, stews and risottos. Here is a recipe for pigeon stew from the Hafner’s 1982 cookbook we’re using for this story.
We clean the pigeons and rub in the salt and leek. We cover their breasts with bacon and tie them with a string. We roast the pigeons in hot lard. In a separate pan we put the butter, chopped onion, chopped bacon, chopped parsley and chopped sardine fillets. Lightly stir fry these and add salt. We then pour in the beef stock and white wine and let it all simmer. Then we add the roasted pigeons and lemon. We stew until the meat is soft. We serve the pigeons in the pot they were stewed in.
- Stuffed garden snails
Although most of the people I know consider land snails as a non-food, they still appear to be quite a popular delicacy, especially in Europe, albeit less so today than they used to be. In Slovenia, garden snails used to be picked in spring, when they were still sealed and hibernating and their digestive organs empty. If we pick them later, they first need to be starved, which according to Hafner usually takes two days. We put the snails in the fridge so that they retract into their shells and seal themselves. When closed we place the animals into boiling water and cook for 20 minutes. After this first boil, we extract the snails from their shells and remove their bowels – apparently these organs will be easy to see and extract at this point. Then we put them in a strainer and sprinkle with rough sea. We then rinse them until all the slime is gone.
The cleaned snails should now be cooked, continues Hafner, in a soup made of chopped carrot, half an onion, thyme, pepper berries, and root parsley. We can also add some white wine, vinegar or lemon juice and salt. In this soup we cook the snails for about an hour, depending how big they are. If we are going to use the shells, they first need to be thoroughly cleaned using hot water and soft brush.
We prepare garlic butter with parsley, stirring finely chopped garlic and parsley leaves into butter and adding some salt. In each of the snail shells we add a teaspoon of soup then push a snail in and seal the opening with the garlic butter. We place stuffed snail shells in a pan and bake them in a hot oven for about five minutes. We serve them hot.
Some special utensils are used when eating this dish: a scissor-like tong for holding the snail, a small fork which we use to get the snail out of his or her shell and a small spoon, where we pour the soup from the shell.
- Barbecued dormouse
Dormouse hunting has been popular in Inner Carniola for centuries, and the first historic account of the practice dates back to the 13th. Dormice used to be an important source of fat, protein and fur, and the original reason for hunting them was survival. Today, however, the main goal of polhanje as dormouse hunting is called in Slovenian, is not in catching a dormouse, but rather in the continuation of a tradition which mainly remains as a fun social event.
In Hafner’s book we read that “we hunt dormice in the late fall. The traps are placed on old beech trees and in pear orchards. Gourmets know well what a treat roasted dormice are. However, one needs to know how to prepare them properly. There are two ways to prepare them: on a barbecue or in a pan.”
Dormice are barbecued in the open air, after we have caught them. A skinned dormouse is threaded on an iron skewer, with a snow pear and a slice of bacon pushed into its belly. Sprinkle the animal with salt and pepper and place on the barbecue. Since dormice are hunted when they’ve stuffed themselves getting ready for winter, you have to pay attention so that the fat doesn’t catch fire.
- Boiled crayfish (Astacus astacus)
Crayfish used to be quite a popular dish in Slovenia, and it would still be so if the domestic varieties had not been depleted by duck plague 140 years ago, which was brought to Europe by the American invasive variety Signal crayfish, that is immune to the disease but spreads it. On top of this the number of autochthonous crayfish varieties are also shrinking due to human interference with their habitat, whether by water pollution or replacing the waterbeds with concrete floors. This is why crayfish hunting is banned in Slovenia, at least as far as the local varieties are concerned, and the recipe below, written in 1982, serves as a stark reminder of the consequences of environmental degradation and how it can change our diets:
“Two kinds of crayfish live in our streams, European or noble crayfish (jelševec) and stone crayfish (koščak). Jelševec is of a much better quality, since it is bigger and tastier.
We first clean the crayfish with a brush and then boil them while still alive. We heat a pot of water with a parsley root and some leaves in it. Before we place a crayfish into the boiling water, we pick it up by its back with our left hand and with the thumb and index finger of our right hand we hold the middle fin of its tail, rotate it and pull out. This way we remove the crayfish’s guts. We then boil the crayfish until they are red.
The hot boiled crayfish are then placed into a porcelain bowl. We add some of the soup they were cooked in, plus some chopped garlic and parsley, and place them on the dining table. We offer vinegar, oil and lemon so that every guest can season them the way he wishes.” (Hafner, p. 168)
December 22, 2018
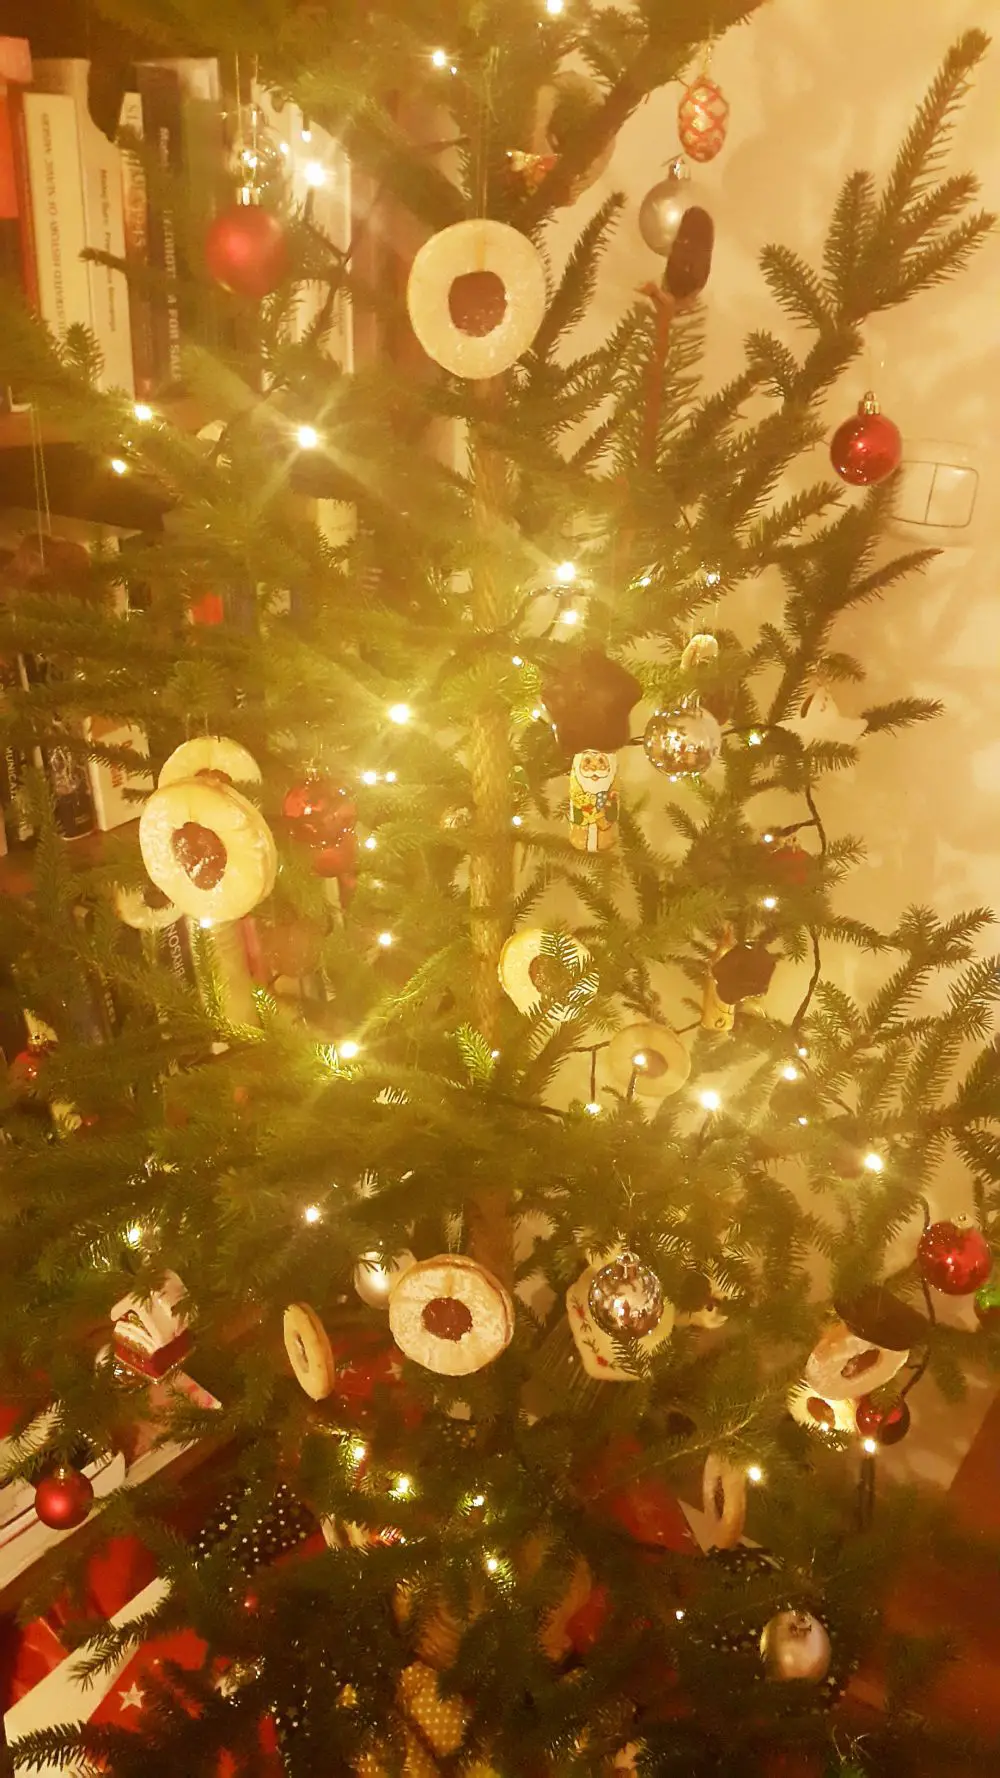
Linzer cookies are not just a cookie classic but also the kind of Christmas tree decorations where the usual cultural battles over the correct colour combinations stop and the general agreement begins.
Also, they are relatively easy to make, so kids can be included in the manufacturing process. The only thing to keep in mind is to knead the dough thoroughly and add the ingredients in the correct order to avoid problems when rolling, and to take them out of the oven while still more or less pale, which happens between 6 and 10 minutes, depending on the oven.
Ingredients (for app. 35 cookies):
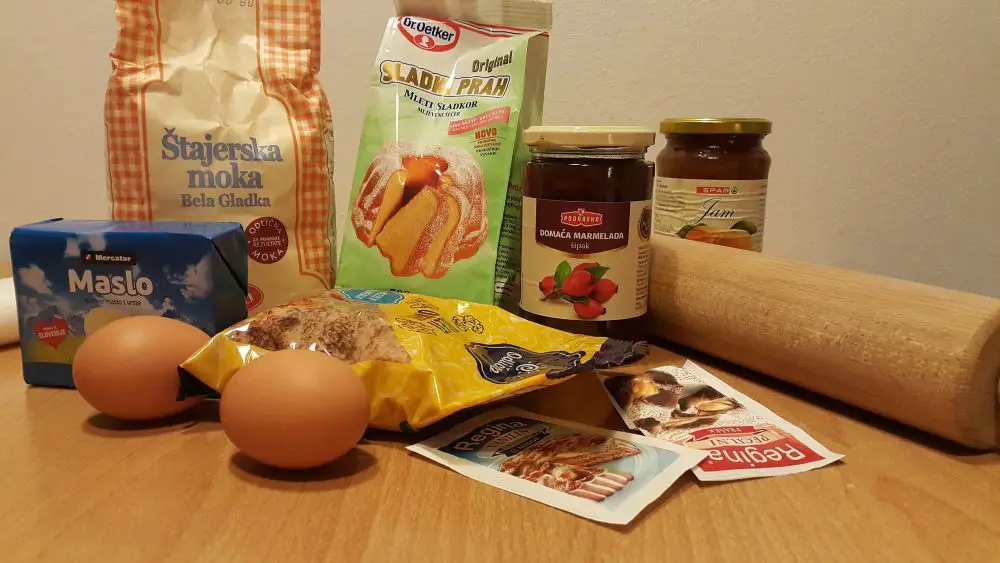
Soften the butter by leaving it outside the fridge for an hour or so, then mix in the sugar evenly and add eggs, one by one. To get a more even texture, you can help yourself with a hand mixer. Knead in the flour and walnuts and let the dough rest in the fridge for an hour or even longer. If you leave it in the fridge overnight, it’ll harden and you’ll have to warm it in the room temperature before you’ll be able to kneed and roll it again.
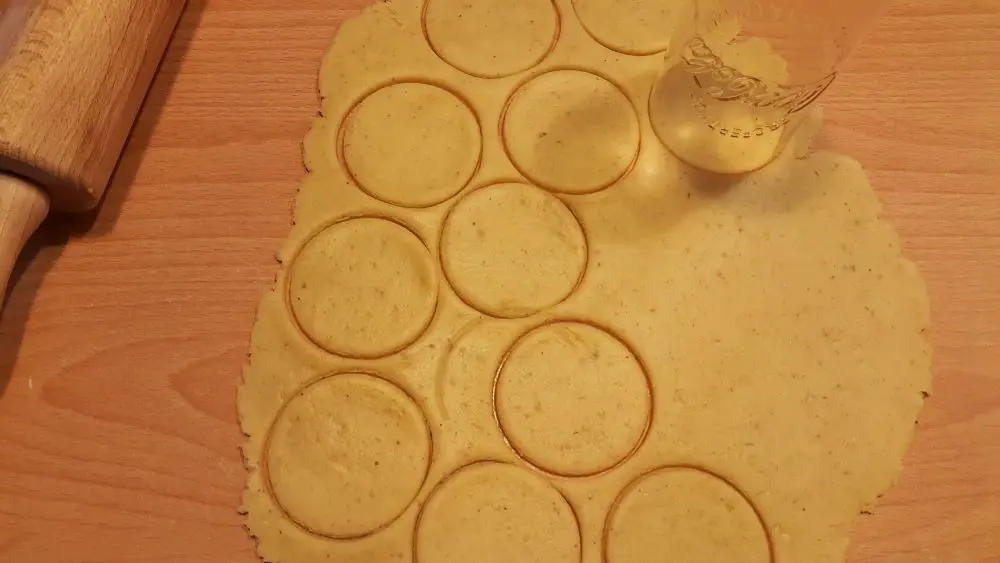
If the dough is too sticky, knead it more or add some more flour. If it keeps sticking to your rolling pin, place some baking paper between the dough and pin.
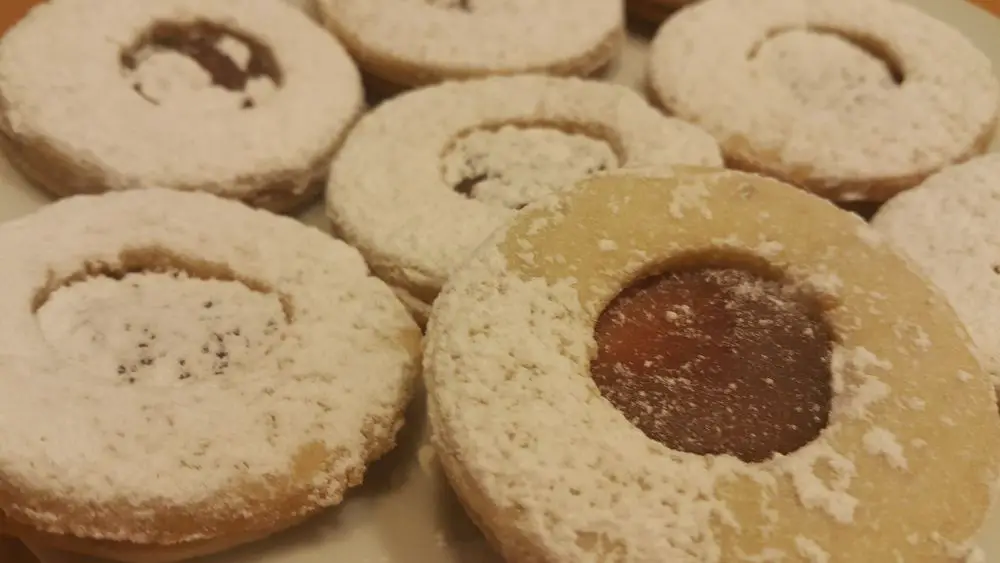
In case you haven’t got any cookie cutters at home, an ordinary glass will do, while you can use bottle caps to make a hole in the upper parts of the cookies. Here, be sure you bake the bottoms and the tops separately, as the tops will need less time in the oven.

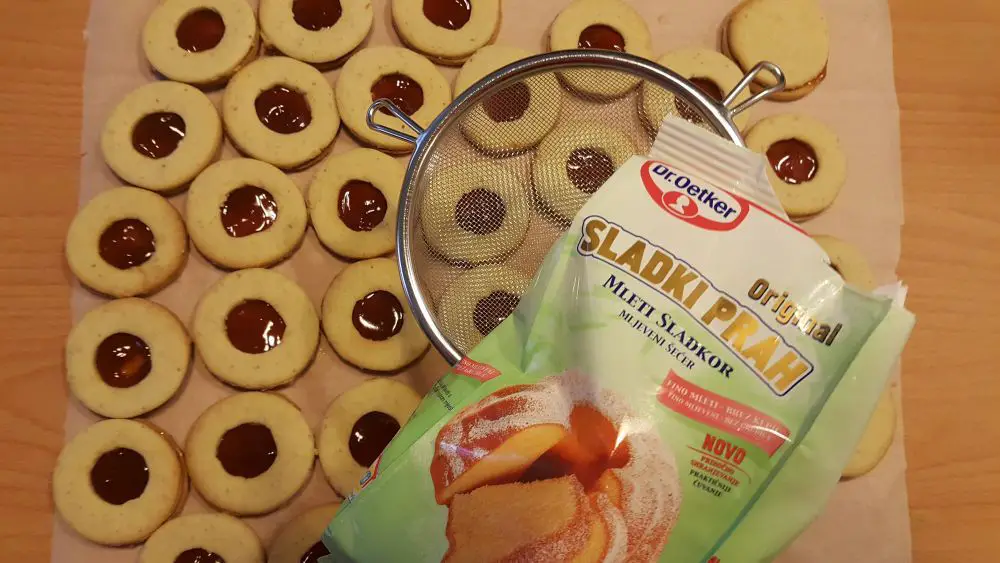
Take the jam out of the jar and stir it into a smooth mixture. If you find your jam too runny, you can add some powdered sugar. It’ll harden it up once the cookies have rested.

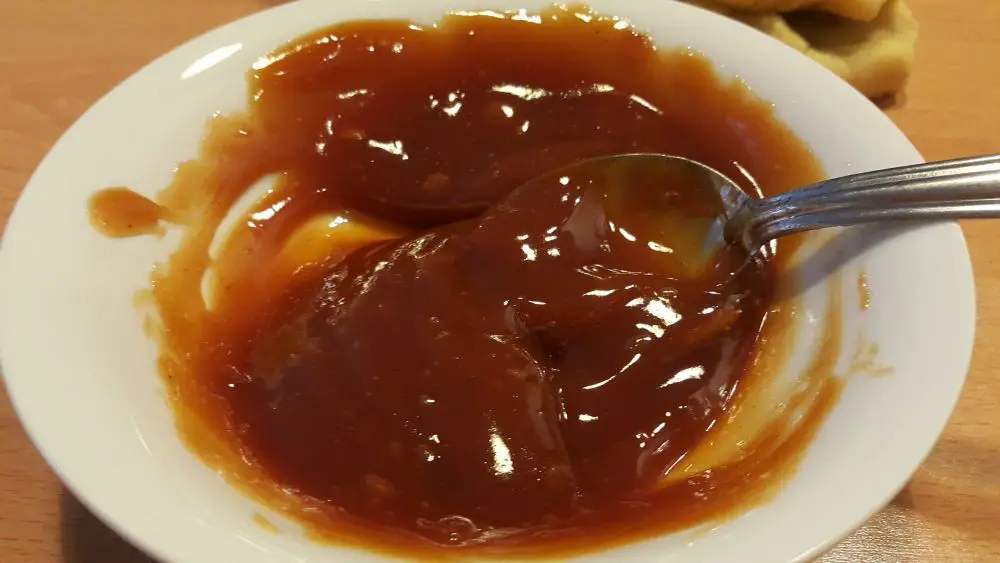
To get the cookies off the table, help yourself with a large meat knife. Bake them for 6 – 10 minutes at 175 degrees Celsius in a ventilated oven. Take out when they begin changing colour at the edges, but still look more or less the same as when you put them in.

Once you have glued the halves together with the jam, sprinkle the cookies with some powdered sugar.
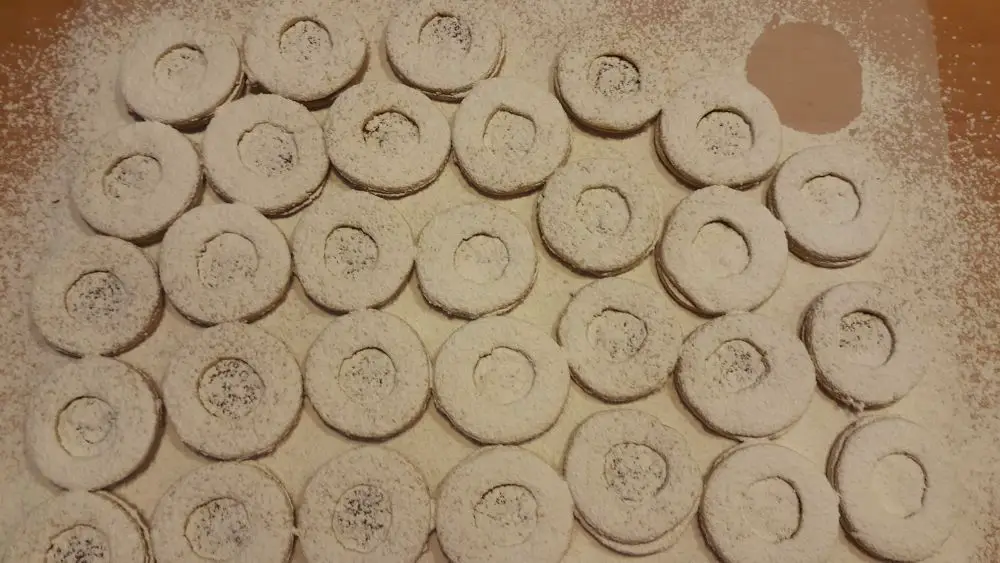
If you are going to sew a thread through the cookies and hang them on your Christmas tree, remove the excess sugar.
Dober tek!
November 23, 2018
If you’re looking for a fun activity for the upcoming weeks of cold and darkness, how about this one: turn your kitchen into a research lab and figure out the best way of bringing Jerusalem artichoke and/or cherry plum to a plate.
The EU sponsored project is called Alien Plant Species / from harmful to useful with citizen-led activities, in Slovenia it is being carried out in cooperation with the Institute of Chemistry, Ljubljana city government and Faculty of Natural Sciences and Engineering and it includes a competition for the most innovative dish made with Jerusalem artichoke (Helianthus tuberosus, also sunroot, sunchoke, or earth apple) and/or cherry plum (Prunus cerasifera, also myrabalan plum). Contestants are free to choose other ingredients as they like.
You have about a year to figure out your recipe, as you must send this, along with a picture of the dish, to This email address is being protected from spambots. You need JavaScript enabled to view it. before September 30, 2019.
The winning authors will receive a plaque and their recipes will be presented at a festival on the use of invasive alien plant species in October 2019, where with any luck they’ll be standing alongside Ana Roš or some other Slovenian celebrity chef.
November 9, 2018
St Martin's Day (martinovo) is not only a drinking festival, but an eating one as well.
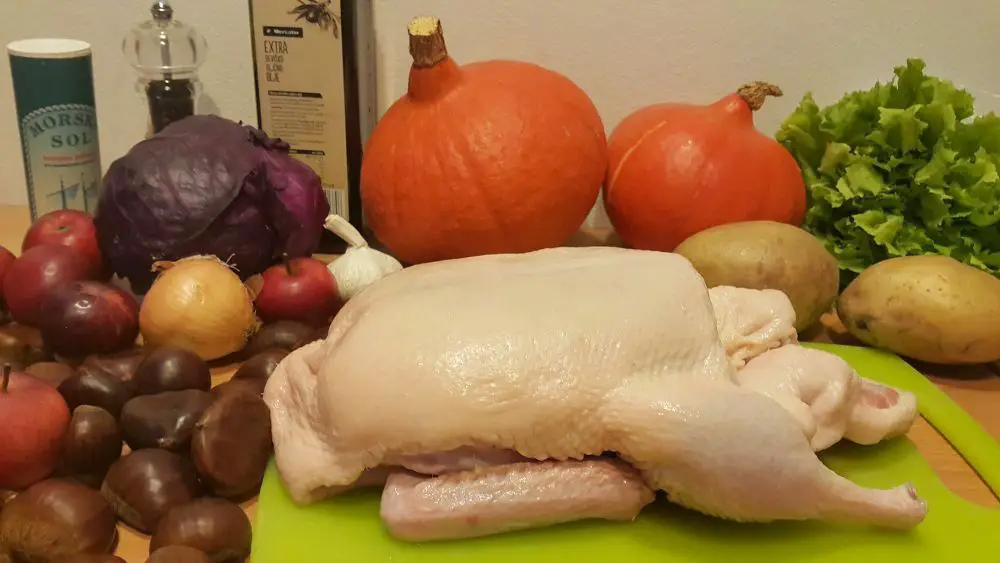
Like similar harvest festivals, such as Thanksgiving, the main dish consists of a roasted bird, preferably goose or duck, which we eventually got simply because it was half the size of any of the available geese.
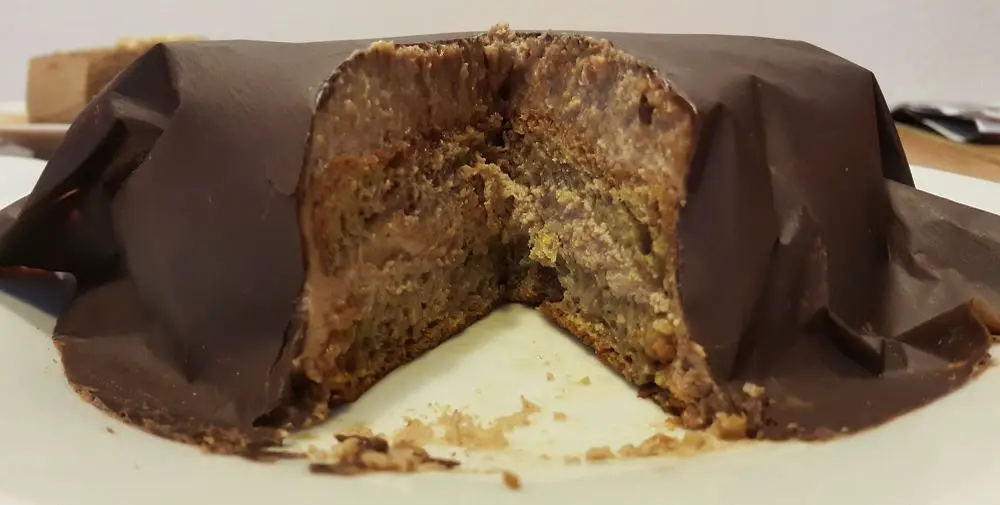
The second important ingredient is chestnuts, which could be a dish on their own, or stuffed in the bird, or pureed and made into a cake.
Usually there are two other side dishes prepared with the bird, namely steamed red cabbage and mlinci, although the latter are not traditionally prepared at the littoral and mostly consist of wheat flour (covered in duck fat), so we decided to replace them with roasted pumpkin and some potatoes. Green salad is recommended as well.
The bird was quite fatty, which almost asks for some sour apples in the stuffing, as well as some light sour-ish wine such as cviček.
Ingredients:
Our duck will be stuffed with chestnuts and apples, which will help counter all that fat that will be released from underneath its skin, which we cut into a little, but not through it, to help its way to the surface and to allow the salt and herbs (and orange zest, which we did not have) to hide in the crevices.
Wash your duck (or goose), wipe it dry and check if everything that shouldn’t been there has been properly removed.
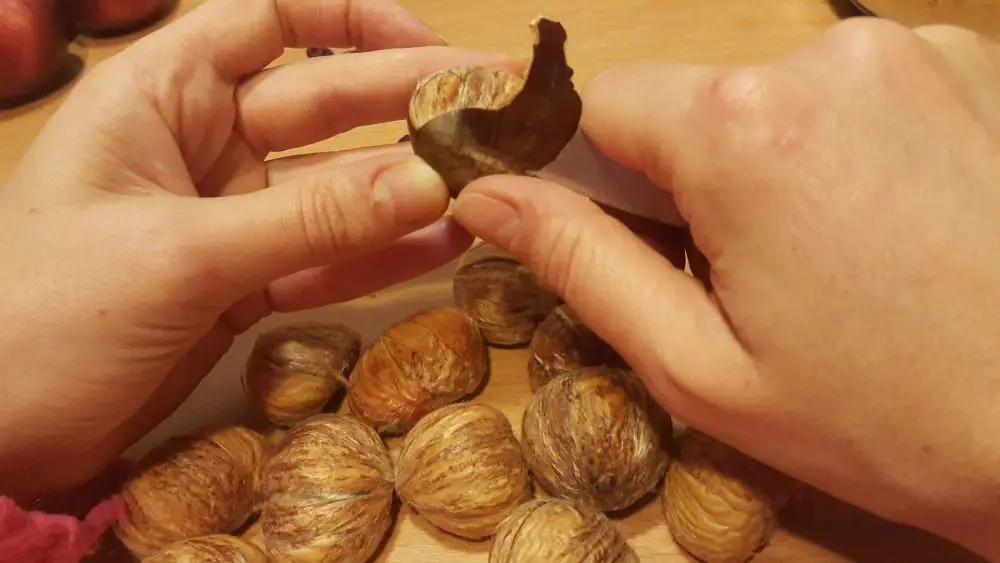
Then we’ll need boil some chestnuts. Here’s a trick which will allow them to be peeled easier when cooked: the outer shell we peel first, then boil them for about 30 minutes, then remove the remaining skin while still warm. Try to keep the skin undamaged and chestnuts fully covered.
Cut two or three apples and remove the seeds, then stuff the bird with them along with the chestnuts and close the opening with two toothpicks.

All of this can be done inside a dry pot, and no oil needs to be added as your duck will release an enormous amount of its own fat, that you can put in a jar and use for other dishes for weeks that will follow (it has a very high smoke point, and is extremely versatile).
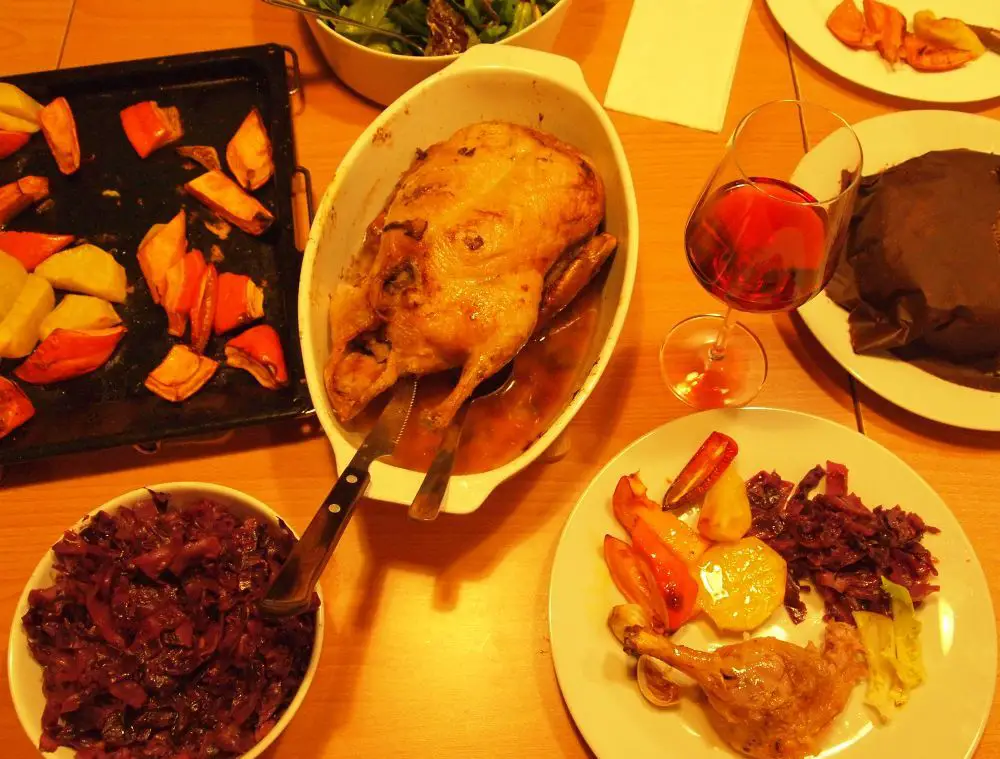
Place the duck in a preheated oven and roast for about 20 minutes, then turn around and reduce the heat to about 170 degrees Celsius. Turn it around every 20 minutes or so, and pour some of the fatty juices over the surface for about another one and a half hours. Turn up the heat at the end in case the skin isn’t crispy, although you’ll see in the photo that we didn’t do this.
Meanwhile, cut the vegetables on a tray, sprinkle them with some salt and pour over some olive oil then place in the oven about 30-40 minutes before the duck is done.
Red cabbage. Chop the onion and garlic and stir fry on the olive oil until onion softens a little. Chop the red cabbage and add it together with some cranberries. Add some water and steam till cabbage softens. Add some wine while still cooking and vinegar at the end. Sprinkle with caraway seeds and serve.
Dober tek!